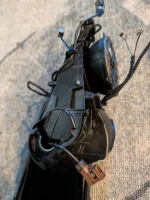

So I had the unfortune case of having a hit and run with my own garage door a couple weeks ago, and although it broke the mirror thankfully all the electronics were not broken and the main thing was the mirror shattered.
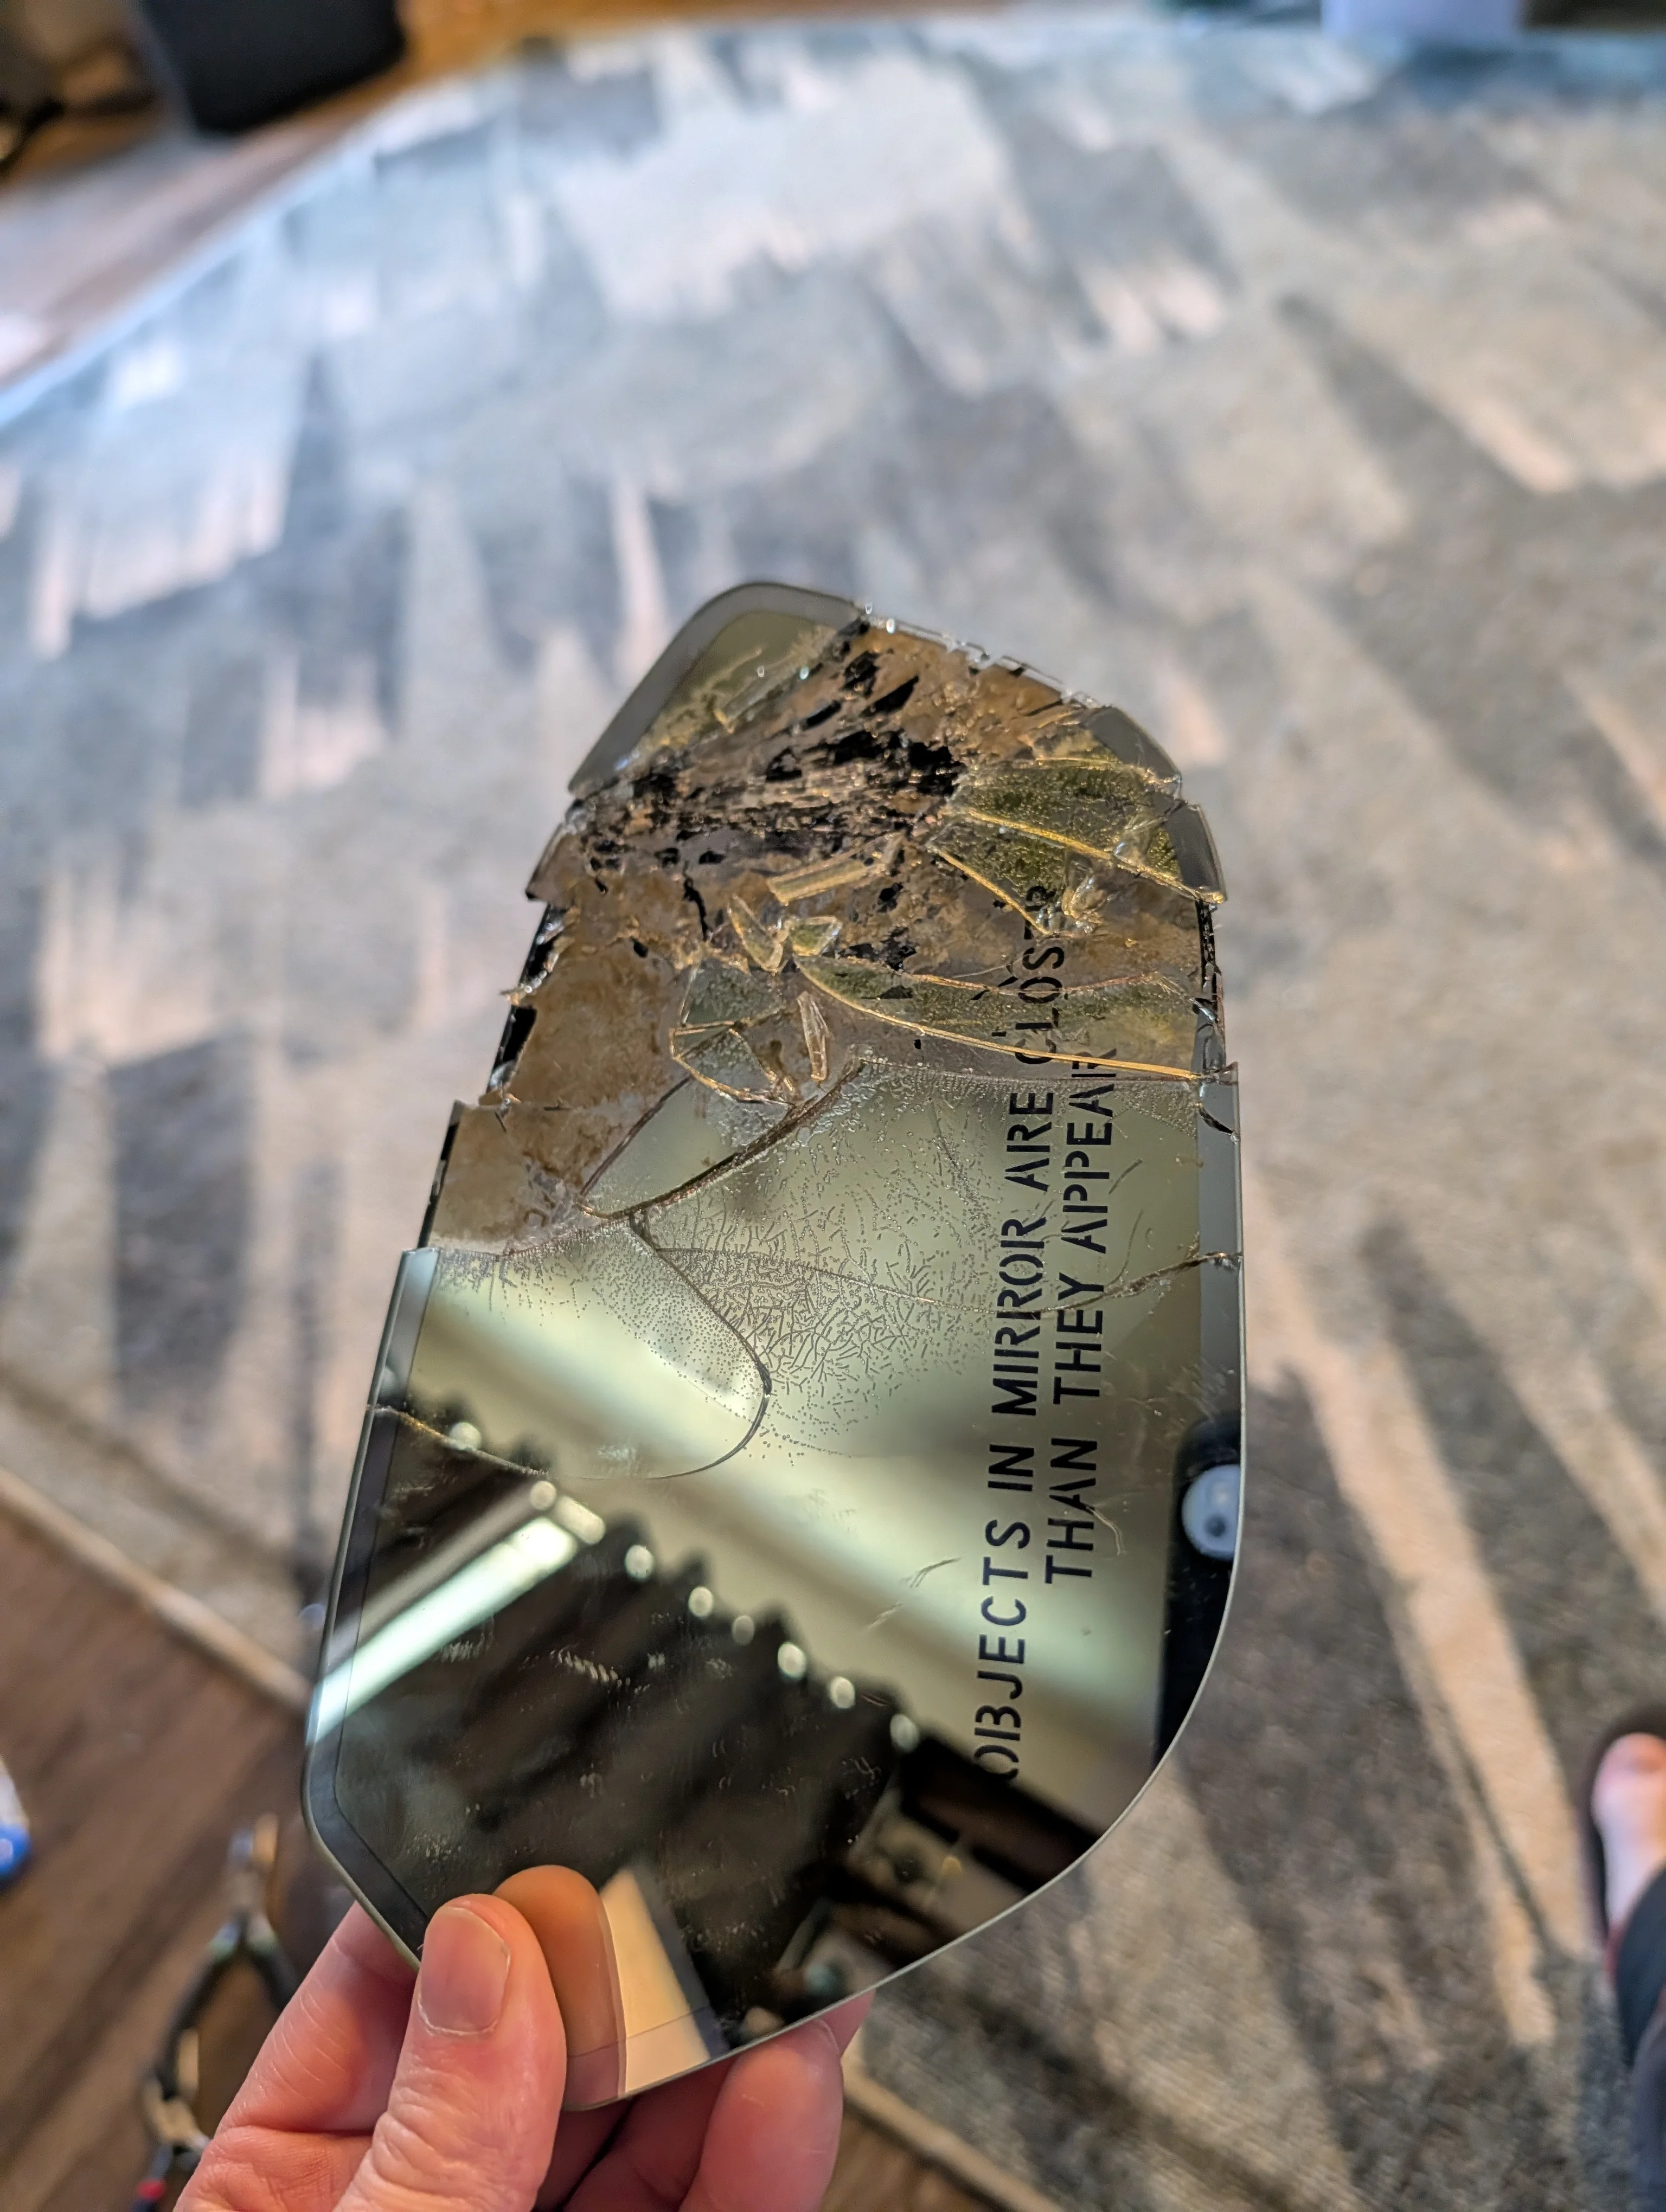
I noticed there was a lot of requests online for removing the plastics from the mirrors but every single guide was to replace the whole assembly.
NOTE: This was done with all salvaged parts by a person who has far too much time on their hands and hates being told they "cant" do something. This is not a professional guide and since there is not service manual, there is no way of knowing if this is the actual correct process.
WARNING: There is a small potential to break some plastic clips in this process. Less than other things but the clips are a part of the actual shell parts so they cant be replace. Do this at your own risk.
Lets start with the hardest part, the mirror itself. The mirror is set in with several plastic clips onto the half sphere that handles the mirror movement. Essentially you gotta get your fingers in between the left and right sides of the mirror, if you can and pull it straight out. It takes a bit of force to get it out, but there are also 4 wires connected to the back of it so what i did was slowly ease up how hard i was pulling until it came loose. I also placed my stomach close the the mirror to prevent the jolt of pulling it off from going too far back.
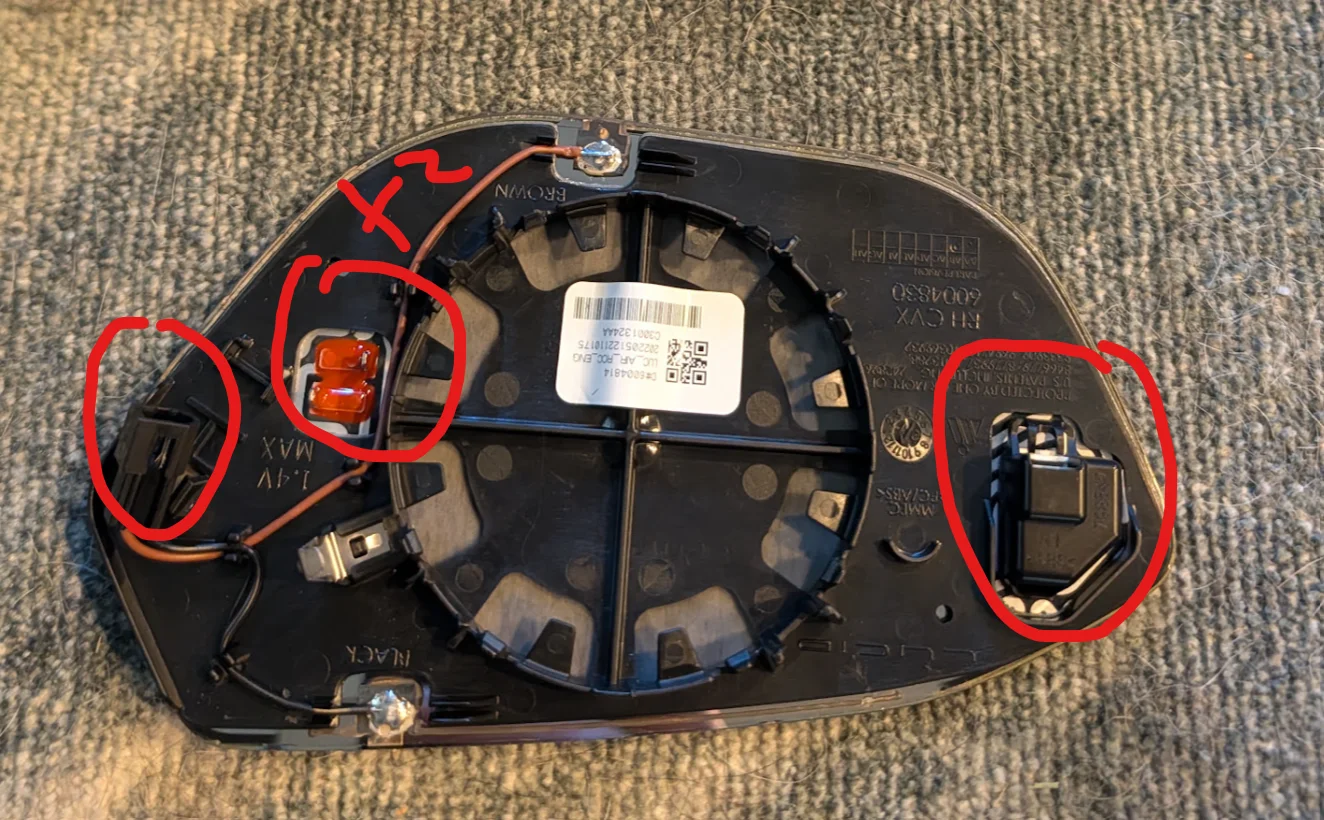
Left photo is of the backside of the mirror, with the 4 wire plugs circled.
Furthest left: this is a regular small locking connector, but it clips in after being connected to sit on the surface of the backside of the mirror. Remove it from the surface before trying to unplug the connector.
Middle x2: This one is actually 2 metal slot plugs, you should play it safe and make sure you either take a picture or put a label on which one goes where as there really is no visual difference between the 2.
Right one: small locking plug, blue in my vehicles case, just press down on the latch on top and slide it out.
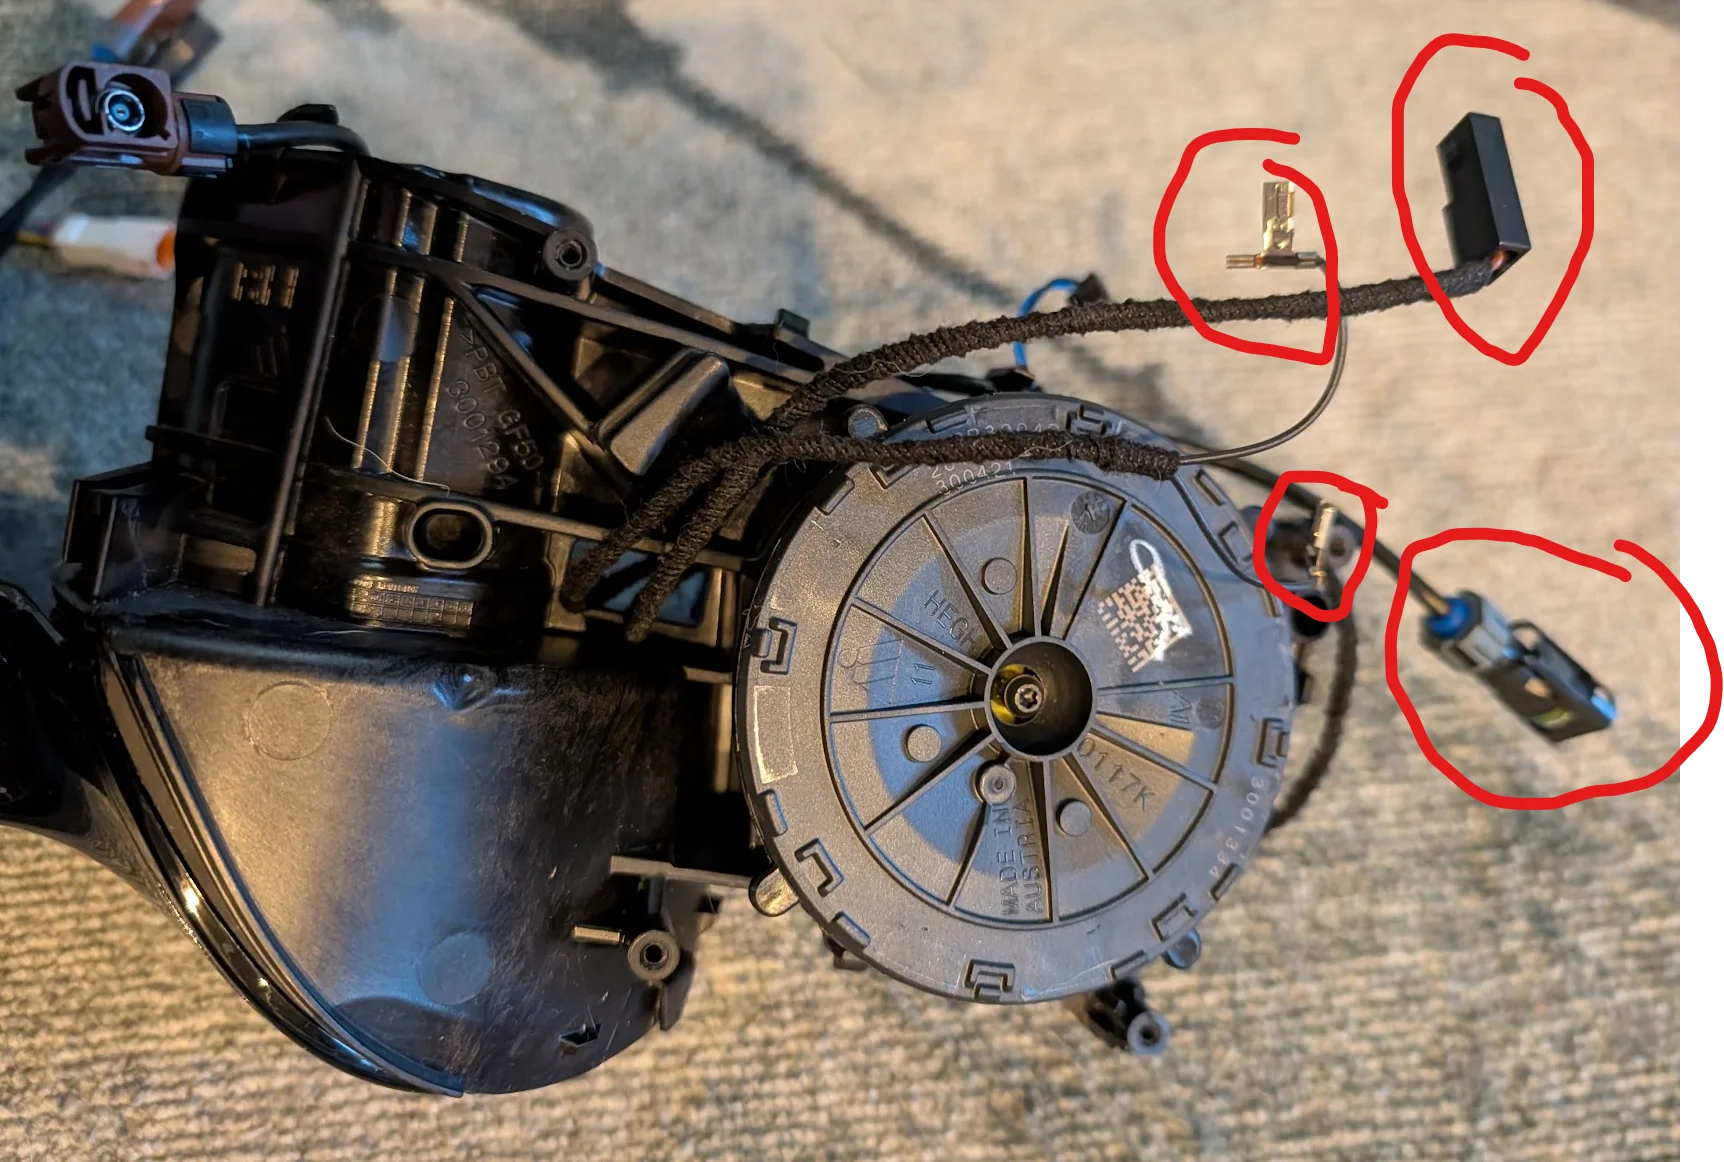
Right photo shows the backside of what the mirror is attached to and the 4 wires that attach to the mirror itself. Brown wire goes to the far left in the other photo, the 2 small ones are your x2, and the blue one is the far right.
Once you have the mirror removed, now its time for the front fascia.
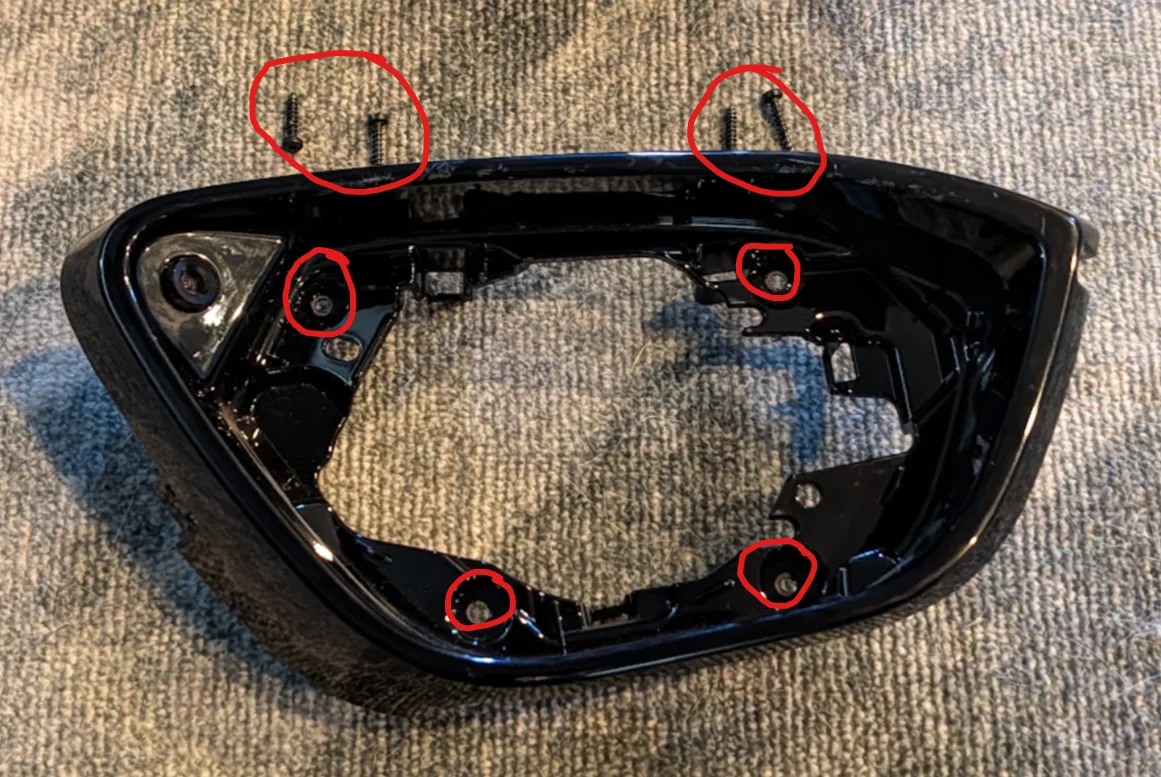
This one not only has plastic clips but also 4 torx screws. I believe they were size 20 or 25.
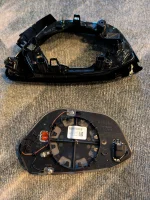
Once you remove those 4 there are some small clips on the backside you need to make sure are disconnected and the whole faceplate should come loose. There will be one brown plug connected on the back in the image taken from ebay on the right. There are some models/trims where this will just be blank plastic but make sure you remove this one.
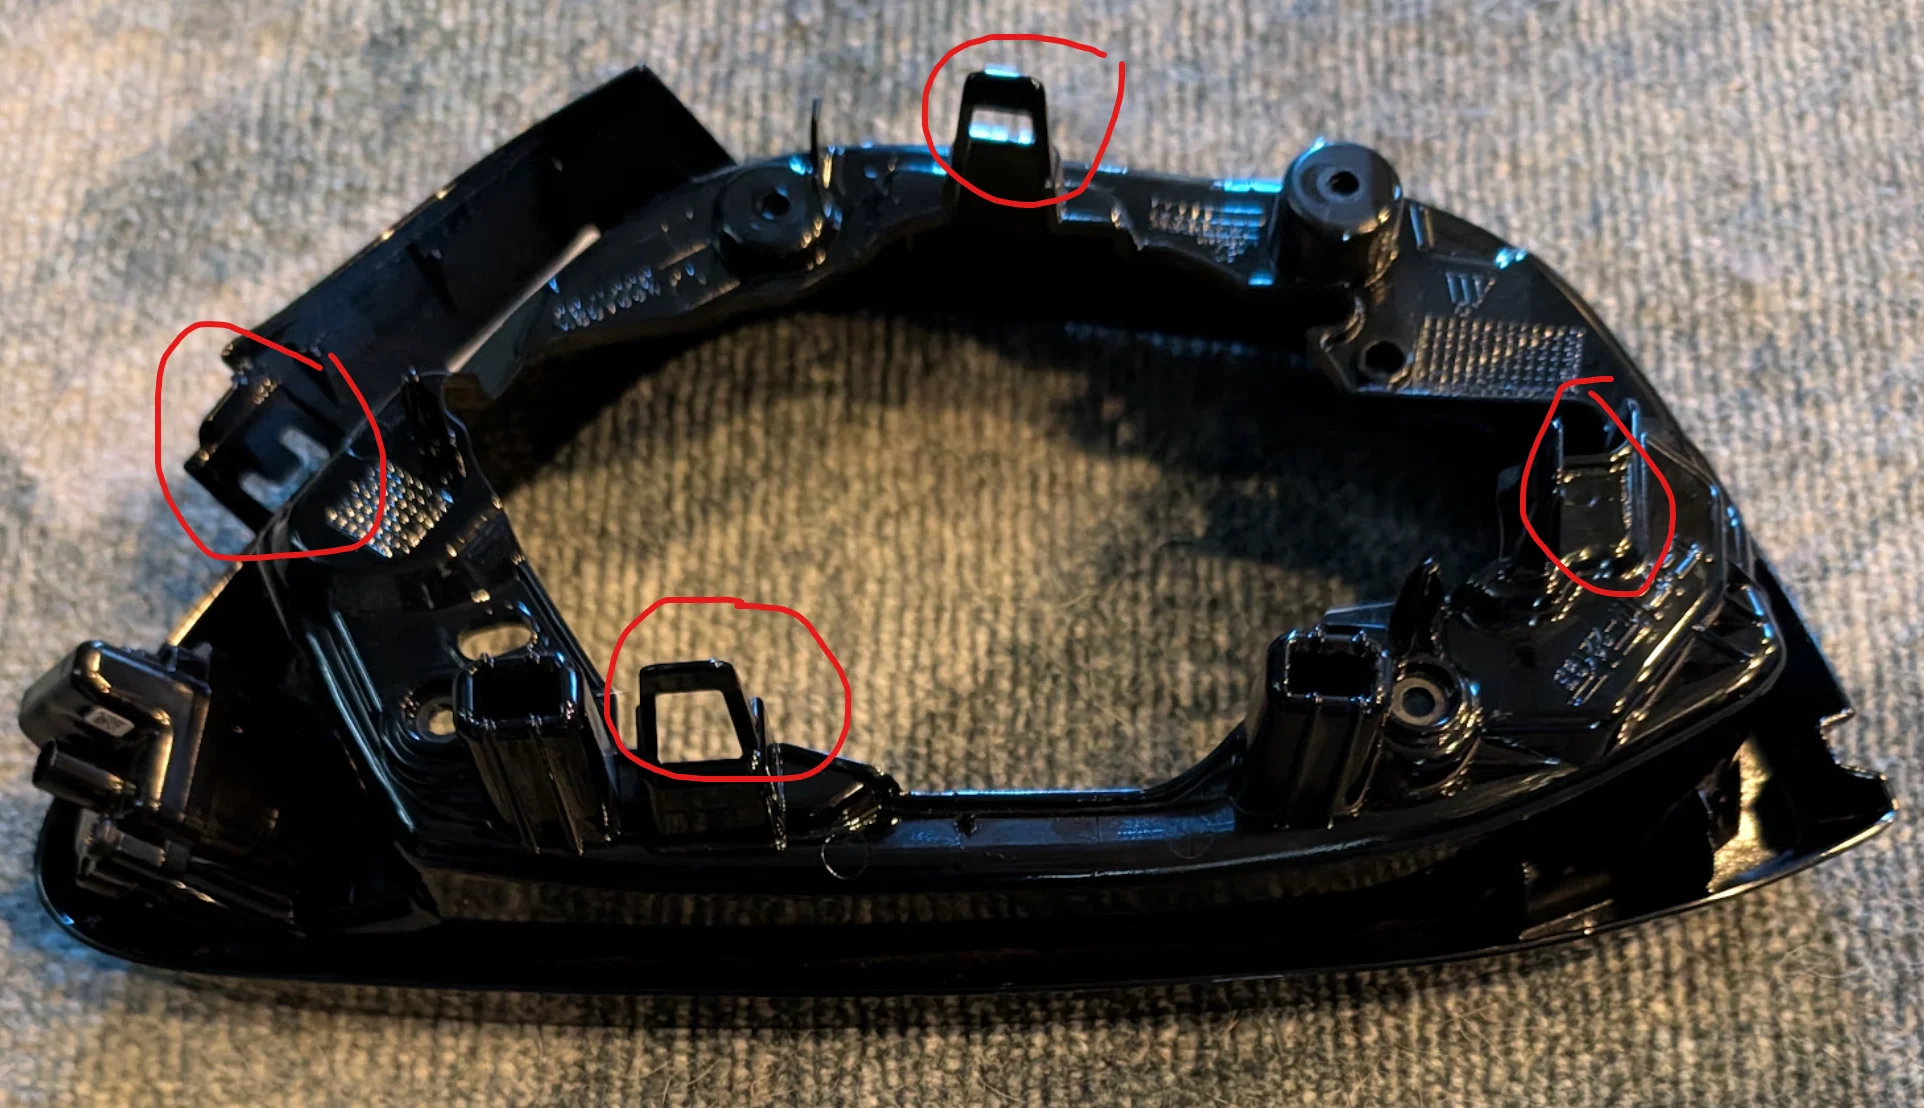
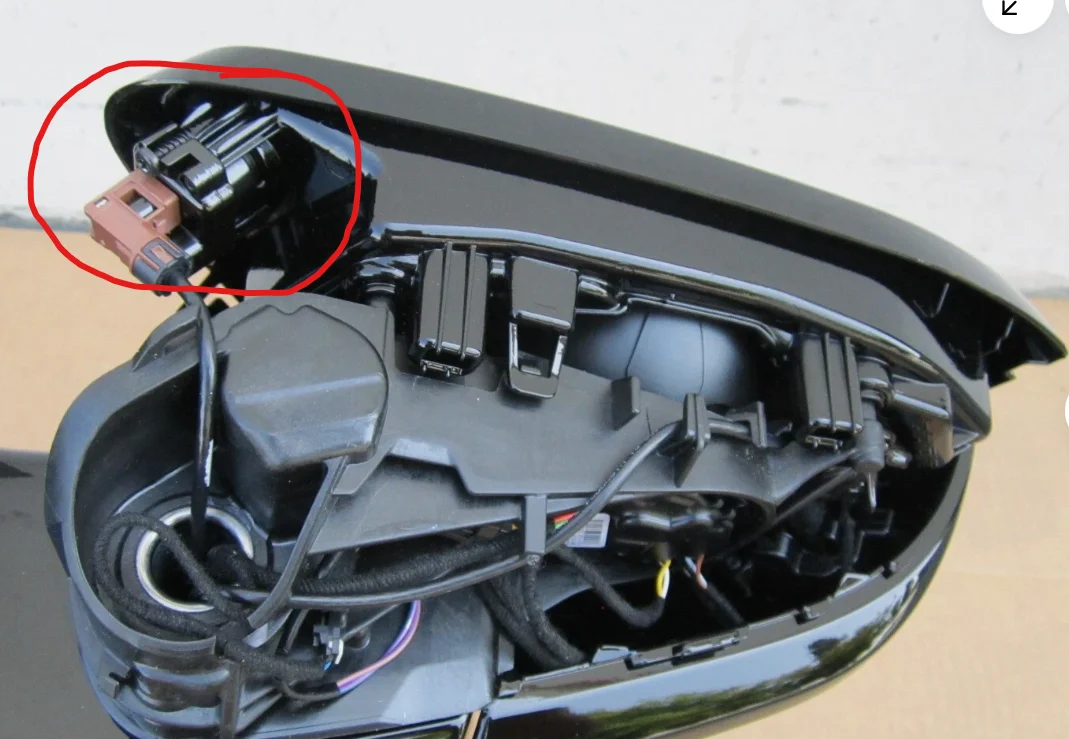
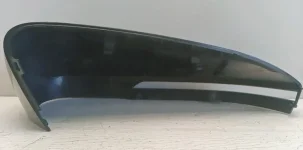
On optional path you can take depending on what you want to do is remove the top cap cover first. Its held just by a few plastic clips and a trim tool will easily help you pop it loose.
I realized i did not have a picture of what mine looked like before i reassembled it but here is another ebay photo with the clips visible.
Things i did not do or didn't succeed in doing:
Removing the bottom cap that has one of the cameras in it. (wasn't touched on mine so no need to touch it. )
Separating the rest of the mirror assembly from the hinge and car side piece. ( I quite literally tried everything short of a Dremel or torch and i could not get them separated)
I did however remove the bottom part of the hinge which is just plastic with trim clips like the top cap.
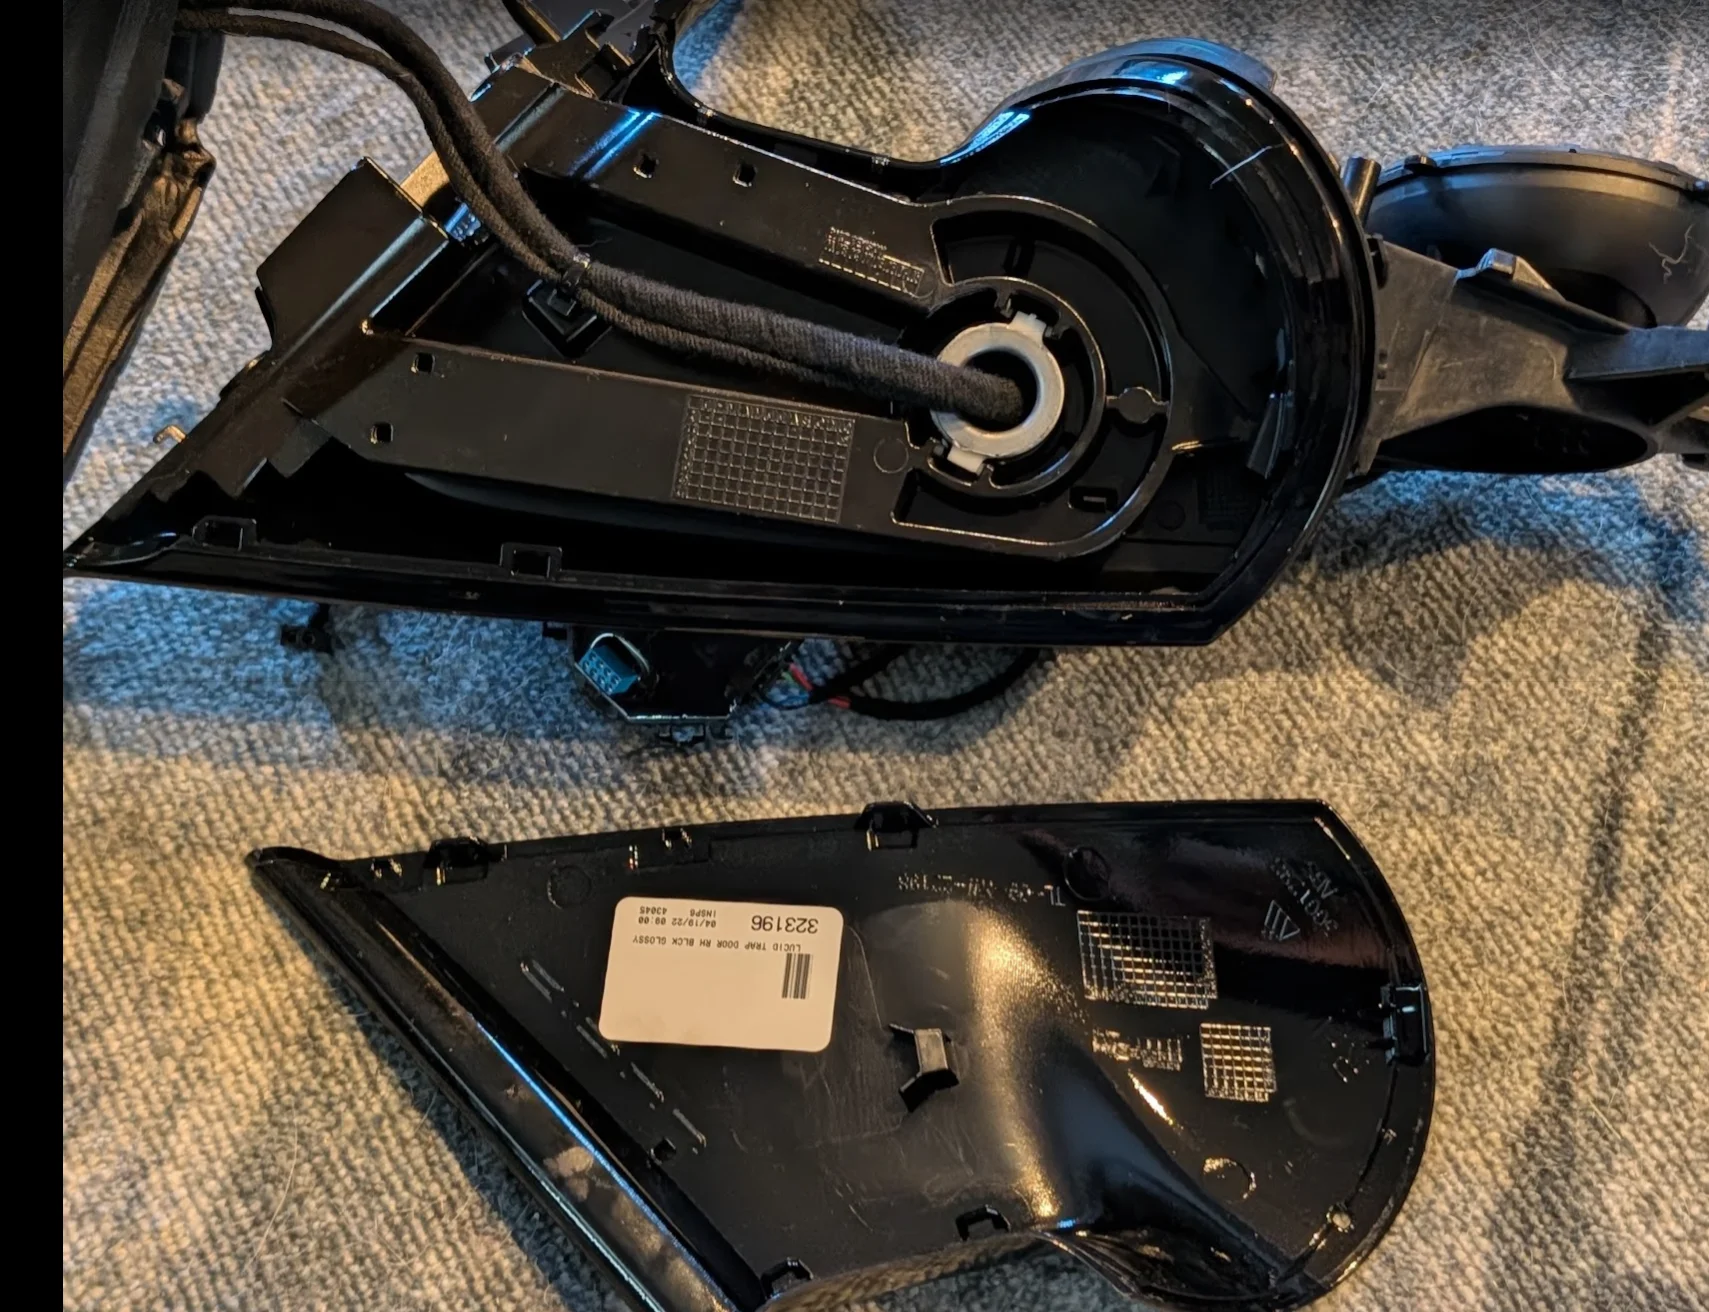
That's about it, i have some parts leftover so if someone needs more pictures and i have the pieces I would be happy to post them or you can reach out if you need something else.
I have 3 additional guides I plan to put up covering the internals of the suspension control module, the rear wiring harness, and the rear speaker wiring.
Cheers to right-to-repair!
I noticed there was a lot of requests online for removing the plastics from the mirrors but every single guide was to replace the whole assembly.
NOTE: This was done with all salvaged parts by a person who has far too much time on their hands and hates being told they "cant" do something. This is not a professional guide and since there is not service manual, there is no way of knowing if this is the actual correct process.
WARNING: There is a small potential to break some plastic clips in this process. Less than other things but the clips are a part of the actual shell parts so they cant be replace. Do this at your own risk.
Lets start with the hardest part, the mirror itself. The mirror is set in with several plastic clips onto the half sphere that handles the mirror movement. Essentially you gotta get your fingers in between the left and right sides of the mirror, if you can and pull it straight out. It takes a bit of force to get it out, but there are also 4 wires connected to the back of it so what i did was slowly ease up how hard i was pulling until it came loose. I also placed my stomach close the the mirror to prevent the jolt of pulling it off from going too far back.
Left photo is of the backside of the mirror, with the 4 wire plugs circled.
Furthest left: this is a regular small locking connector, but it clips in after being connected to sit on the surface of the backside of the mirror. Remove it from the surface before trying to unplug the connector.
Middle x2: This one is actually 2 metal slot plugs, you should play it safe and make sure you either take a picture or put a label on which one goes where as there really is no visual difference between the 2.
Right one: small locking plug, blue in my vehicles case, just press down on the latch on top and slide it out.
Right photo shows the backside of what the mirror is attached to and the 4 wires that attach to the mirror itself. Brown wire goes to the far left in the other photo, the 2 small ones are your x2, and the blue one is the far right.
Once you have the mirror removed, now its time for the front fascia.
This one not only has plastic clips but also 4 torx screws. I believe they were size 20 or 25.
Once you remove those 4 there are some small clips on the backside you need to make sure are disconnected and the whole faceplate should come loose. There will be one brown plug connected on the back in the image taken from ebay on the right. There are some models/trims where this will just be blank plastic but make sure you remove this one.
On optional path you can take depending on what you want to do is remove the top cap cover first. Its held just by a few plastic clips and a trim tool will easily help you pop it loose.
I realized i did not have a picture of what mine looked like before i reassembled it but here is another ebay photo with the clips visible.
Things i did not do or didn't succeed in doing:
Removing the bottom cap that has one of the cameras in it. (wasn't touched on mine so no need to touch it. )
Separating the rest of the mirror assembly from the hinge and car side piece. ( I quite literally tried everything short of a Dremel or torch and i could not get them separated)
I did however remove the bottom part of the hinge which is just plastic with trim clips like the top cap.
That's about it, i have some parts leftover so if someone needs more pictures and i have the pieces I would be happy to post them or you can reach out if you need something else.
I have 3 additional guides I plan to put up covering the internals of the suspension control module, the rear wiring harness, and the rear speaker wiring.
Cheers to right-to-repair!